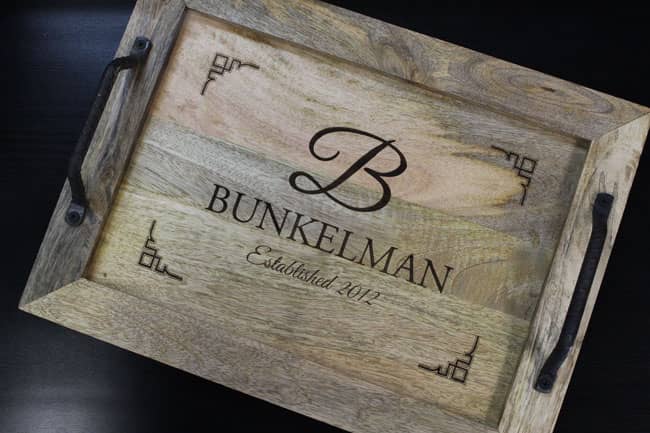
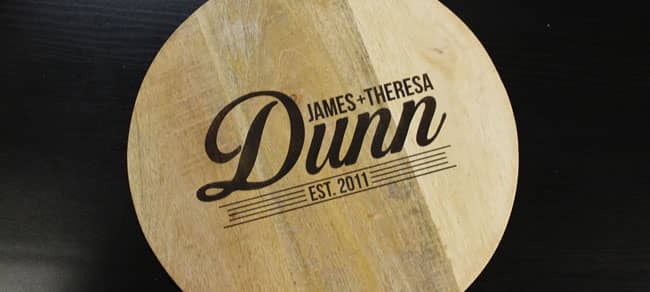
Cutting boards on their own are not so great a gift, however, this little “how-to” guide will lead you to be able to create personal and useful gifts for friends and family this holiday season.
 Use masking tape to mask the better side (the side with fewer knots and uneven spots) evenly and without overlap. This is to keep the overburn and ash dust off of the un-lasered portions. Keep the tape from overlapping or you may run the risk of having lines through your engraving.
 Make sure everything is level and run it. We ran our cutting boards at a speed of 10 and a power of 35. We wanted our engraving to be nice and dark. If yours doesn’t turn out quite dark enough the first time, remember that you can run the file again so long as you don’t move the cutting board.
 Un-taping is the most tedious portion of this process. But taping it up really is worth it. Make sure to get all of the little bits and pieces out of the letters.
If you want to coat it in something after engraving then you can treat it with mineral oil or beeswax every so often. It can be cleaned with granulated salt and a sliced lemon slightly more often. (For more information on this process you can check here.)
1. Mask it
 Use masking tape to mask the better side (the side with fewer knots and uneven spots) evenly and without overlap. This is to keep the overburn and ash dust off of the un-lasered portions. Keep the tape from overlapping or you may run the risk of having lines through your engraving.
2. Laser it
 Make sure everything is level and run it. We ran our cutting boards at a speed of 10 and a power of 35. We wanted our engraving to be nice and dark. If yours doesn’t turn out quite dark enough the first time, remember that you can run the file again so long as you don’t move the cutting board.
3. Un-tape it
 Un-taping is the most tedious portion of this process. But taping it up really is worth it. Make sure to get all of the little bits and pieces out of the letters.
If you want to coat it in something after engraving then you can treat it with mineral oil or beeswax every so often. It can be cleaned with granulated salt and a sliced lemon slightly more often. (For more information on this process you can check here.)

We hope you found this how-to helpful! If you’d like more information, contact us today!